
Pipefitters have been laying out saddles and laterals long before computers ever showed up in fabrication shops. Circumference measurements, degree marks, ordinates, wraparounds, formulas, graph paper and plenty of checking have traditionally been part of getting a branch pipe to fit a header correctly.
Knowing that layout is still an important part of the trade.
But when the geometry is already understood, calculating and developing every pattern by hand can take valuable time.
That is why Næxon built Rapit Pro.
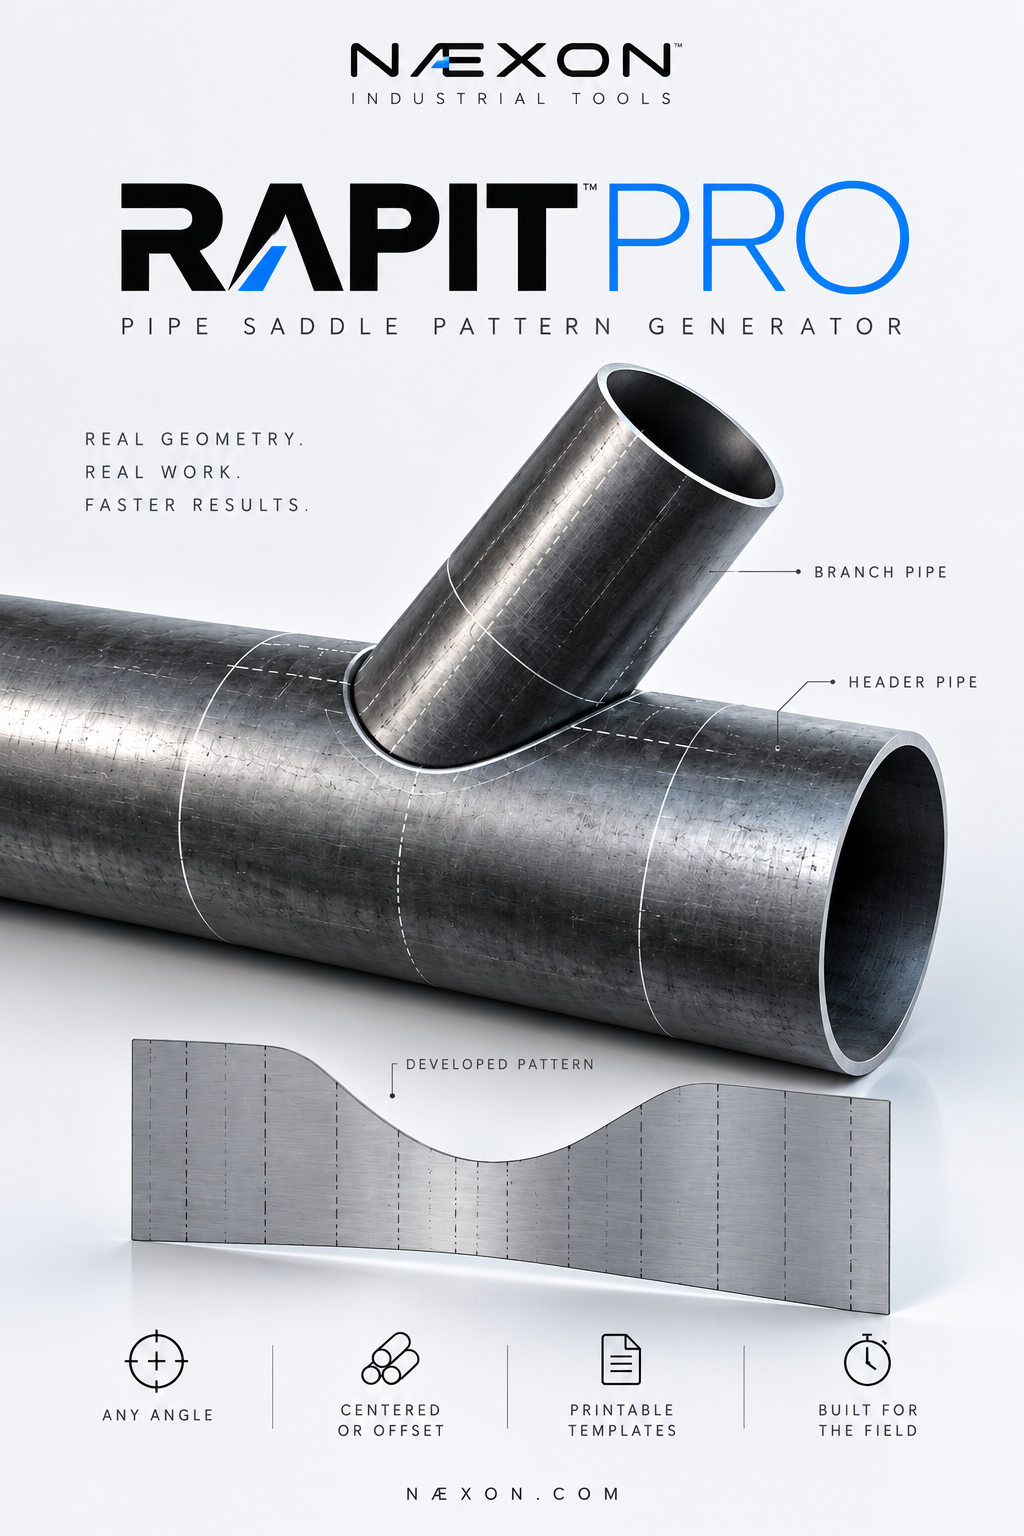
Rapit Pro is a pipe saddle and lateral pattern development tool designed for pipefitters, welders, fabricators and tradespeople who need a faster way to develop round-pipe intersection patterns.
Instead of working through every ordinate manually, Rapit Pro allows you to enter the connection geometry and generate a developed pattern that can be reviewed, verified and printed for fabrication.
Built Around Real Pipe Geometry
A pipe saddle—often called a fish-mouth—is created when the end of a branch pipe is cut to match the curved outside surface of another pipe.
The geometry becomes more involved when pipe diameters change, the branch angle changes or the branch is offset from the header centerline.
Rapit Pro was designed to handle that geometry while keeping the interface straightforward enough to use as a practical fabrication tool.
Users can select standard pipe sizes or work with actual outside diameters. The program supports both inches/NPS and millimeters/DN, making the same tool useful across different measurement systems.
The generated saddle geometry is based on the actual outside diameters of the intersecting pipes rather than simply treating nominal pipe size as the true diameter.
That distinction matters.
As explained in Næxon’s Saddle Pipe Layout: Circumference and Degrees guide, accurate saddle development starts with understanding the actual outside diameter, circumference and geometry of the pipes being fitted.
More Than a 90-Degree Saddle Generator
A basic saddle calculator can be useful for one particular connection.
Rapit Pro was designed to go considerably further.
The branch angle can be changed instead of being locked to a standard 90-degree intersection. Quick selections are available for common angles such as 90°, 75°, 60°, 45° and 30°, while custom geometry can also be entered.
This allows Rapit Pro to develop patterns for both traditional saddle connections and angled lateral-type intersections.
The program also allows the branch location to be configured as:
Centered
Offset left
Offset right
For an offset connection, the centerline offset can be entered directly into the calculation.
That means one tool can be used to explore considerably more connection geometry than a conventional centered 90-degree saddle.
Standard Pipe Sizes or Actual Outside Diameter
Pipefitters know that nominal pipe size and actual outside diameter are not the same thing.
Rapit Pro accounts for this.
Users can select standard pipe sizes while still being able to work directly with the Branch OD and Header OD.
Schedule and wall-thickness information can also be entered and displayed as fabrication reference information.
This gives the fitter a clearer picture of the connection being developed while keeping the outside-surface intersection based on the geometry that actually controls the saddle shape.
See the Connection Before You Cut
One of the most useful parts of Rapit Pro is that the calculation does not end with a number.
The program provides a connection preview and a developed pattern overview, allowing the user to visually examine the geometry before taking the pattern into fabrication.
Rapit Pro also generates ordinate information showing the relationship between:
Clock position
Degrees
Wrap distance
Cut ordinate
For tradespeople who already understand manual saddle layout, this makes Rapit Pro useful for more than simply generating a pattern.
It can also help visualize what the calculations are doing.
From Screen to Printable Pattern
A calculated saddle isn’t very useful if getting it onto the pipe becomes another complicated process.
Rapit Pro therefore includes printable pattern development.
Users can select paper or plotter settings and orientation before generating the pattern. The finished development can then be exported as a true-scale tiled PDF for printing.
Rapit Pro also provides SVG and ordinate CSV downloads.
The PDF option is particularly useful when a full-size pattern is larger than a single sheet of paper. A tiled pattern allows the development to be distributed across multiple sheets so it can be assembled into a full-size fabrication template.
Printer scale should always be verified before transferring a printed pattern to material.
Fabrication Information Can Travel With the Pattern
A pattern on the shop floor needs context.
Rapit Pro includes fields for information such as:
Project
Line or spool number
Drawing or joint
Prepared by
Notes
The program also provides fabrication-reference fields for items including axial cut allowance, kerf reference, root gap reference and bevel angle.
These features allow a generated pattern to carry more useful fabrication information than a bare curve printed on a piece of paper.
Share the Same Pattern Setup
Rapit Pro can also create a link containing the pattern inputs.
When the link is opened through Næxon, the same pattern configuration can be loaded for another user.
That creates possibilities beyond individual layout.
A fitter, foreman or fabrication shop can establish the geometry and share the setup so another person can review the same inputs rather than rebuilding the calculation from scratch.
The measurements should still be verified against the applicable drawing, fabrication requirements and actual material before cutting.
A Tool Built to Assist the Trade—not Replace It
Rapit Pro does not eliminate the need to understand pipe layout.
It makes that knowledge more useful.
A fitter should still understand what a header is, what a branch is, how outside diameter affects the intersection, how circumference relates to positions around a pipe, what branch angle means and why an incorrect measurement can produce an incorrect cut.
That knowledge is what allows someone to recognize when an input or generated result does not make sense.
For anyone wanting to understand the geometry behind the program rather than simply pressing a button, start with Næxon’s Saddle Pipe Layout: Circumference and Degrees. It walks through circumference, degree positions, saddle depth and the basic principles behind manual saddle development.
Rapit Pro takes those principles and puts them into a faster digital workflow.
Built From the Same Mentality as the Trade
Industrial crafts have always evolved their own tools.
Pipefitters fabricate dogs, doghouses, push-pulls, clamps, alignment devices and countless other tools because the people performing the work often recognize opportunities to make a task faster or more practical.
Næxon explored that same culture in Built by the Trades: Why the Best Jobsite Gear Often Starts With a Worker Saying, “I Can Make That Better”.
Rapit Pro follows the same basic idea.
Take a calculation and layout process tradespeople already perform.
Understand it.
Then build a better way to perform the repetitive part of the work.
Rapit Pro Is Live
Rapit Pro is now available directly through Næxon.
Whether you are developing a standard centered saddle, working through an angled branch, experimenting with an offset connection or generating a printable fabrication pattern, the goal is simple:
Spend less time repeating the math and more time understanding the fit.
Before cutting material, always verify the pipe outside diameters, branch angle, centerline offset, applicable drawings, project requirements, fabrication procedures and printed scale. Rapit Pro is a layout and pattern-development aid; final fabrication remains the responsibility of the qualified tradesperson performing the work.
Next: How to Use Rapit Pro
Next in the Næxon Learning Center, we’ll break Rapit Pro down step by step—from selecting your branch and header sizes to setting the branch angle, generating the pattern, checking the ordinate table and printing a full-size template.
We’ll also use diagrams and real pipe examples so you can see exactly what each Rapit Pro input represents on an actual branch-to-header connection.
Leave a Reply