
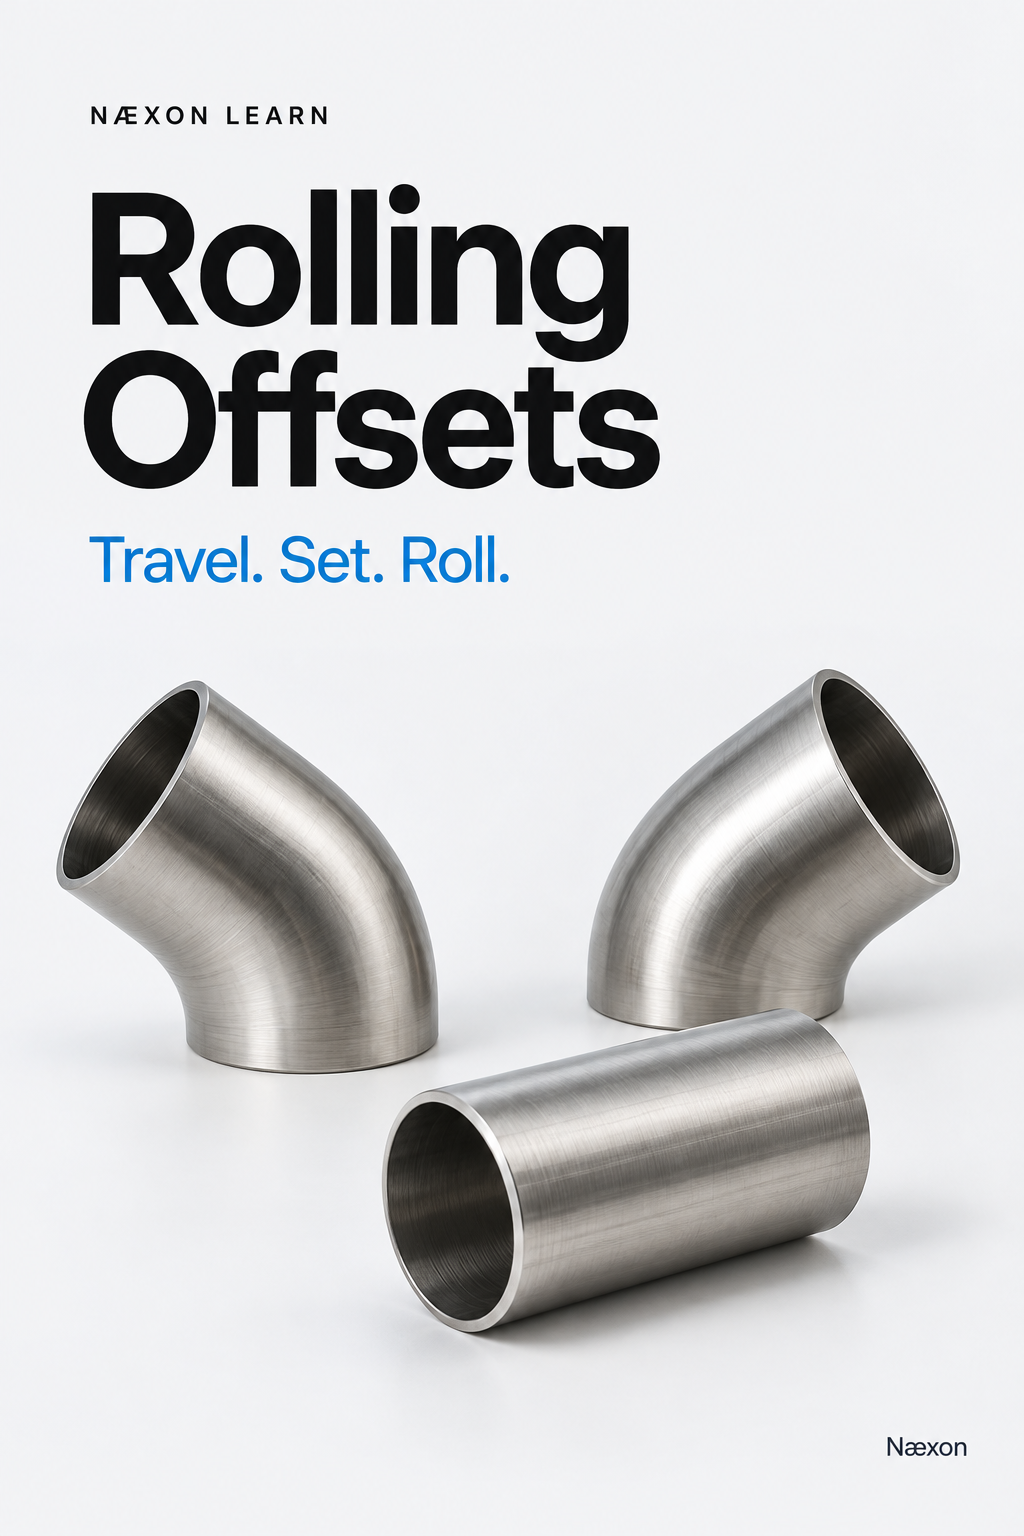
A pipe needs to move 12 inches upward and 9 inches sideways before continuing in its original direction. Two 45-degree elbows will make the change, but how long should the connecting pipe be, and how should the elbows be rotated?
That is a rolling-offset problem. Solving it requires understanding the relationship between the vertical movement, sideways movement, fitting angle, and diagonal travel. The arithmetic becomes straightforward once each dimension has a clear meaning.
This four-part Næxon Learn lesson covers the centerline geometry of a rolling offset connecting two parallel pipe runs with two matching elbows. It progresses from identifying dimensions to calculating travel, establishing orientation, and checking the layout before fabrication.
Trade: Pipefitting and Steamfitting
Category: Math–Layout
Difficulty: Apprentice to Journeyman
Part 1: Understand What Each Dimension Means
A Rolling Offset Changes Position in Two Directions
A simple offset moves a pipe in one transverse direction, such as straight upward or sideways. A rolling offset combines both movements. The connecting section travels diagonally while the outgoing pipe returns to a direction parallel to the incoming pipe.
Although the completed assembly occupies three-dimensional space, its centerline geometry can be solved using two right triangles. First, combine the vertical and lateral displacement. Then use that combined offset with the elbow angle to determine travel.
Define Set and Roll Before Measuring
Terminology varies among crews and reference books. In this lesson, set means the vertical centerline difference, and roll means the sideways centerline difference. Labeling the dimensions “vertical” and “sideways” on the sketch prevents confusion if someone uses different terminology.
Imagine looking directly along the incoming pipe toward the destination. If the receiving centerline is 12 inches higher and 9 inches to the right, the set is 12 inches and the roll is 9 inches.
Keep the direction with the measurement. An offset that goes up and right has the same calculated length as one that goes up and left, but the assemblies are oriented differently.
True Offset Combines Set and Roll
The true offset is the straight-line separation between the parallel pipe centerlines when viewed along their direction. It combines the upward and sideways movements into one diagonal dimension.
The set, roll, and true offset form a right triangle:
True offset = √(set² + roll²)
For a 12-inch set and a 9-inch roll:
True offset = √(12² + 9²) = √225 = 15 inches
The 15-inch result is the combined transverse offset. It is not yet the travel between elbows.
Travel and Advance Are Different Dimensions
Travel is the diagonal center-to-center distance between the elbows’ theoretical centerline intersections, measured along the connecting pipe axis.
Advance, also called run in some references, is the distance gained along the original pipe direction between those same intersections.
The true offset and advance form the legs of a second right triangle. Travel is its hypotenuse.
Field Rule: Label vertical displacement, sideways displacement, true offset, travel, and advance separately. A correct number assigned to the wrong dimension still produces the wrong spool.
Part 2: Calculate Travel and Advance
Apply the Elbow Angle to the True Offset
For two matching elbows connecting parallel runs, let the elbow deflection angle be θ. The centerline relationships are:
Travel = true offset ÷ sin θ
Advance = true offset ÷ tan θ
Use degree mode when entering elbow angles into a calculator.
For 45-degree elbows, dividing by sin 45° is equivalent to multiplying by approximately 1.4142. Because tan 45° equals 1, the advance equals the true offset.
Work Through the 12-by-9 Example
The vertical set is 12 inches, the sideways roll is 9 inches, and the true offset is 15 inches. With two 45-degree elbows:
Travel = 15 ÷ sin 45° = 21.213 inches
Advance = 15 ÷ tan 45° = 15 inches
The elbow centerline intersections are therefore approximately 21.213 inches apart along the diagonal connecting axis and 15 inches apart along the original run direction.
Neither 12 × 1.4142 nor 9 × 1.4142 gives the correct travel. Each calculation ignores one component of the offset. Combine set and roll first, then apply the angle relationship.
Changing the Elbow Angle Changes the Space Required
For the same 15-inch true offset, using two 30-degree elbows gives:
Travel = 15 ÷ sin 30° = 30 inches
Advance = 15 ÷ tan 30° ≈ 25.981 inches
The shallower angle requires more diagonal travel and more forward space. Fitting angle therefore affects whether an offset can fit between fixed connection points.
If the available advance is already fixed, it must agree with the selected fitting angle. A 15-inch true offset and 15-inch advance suit the theoretical geometry of a 45-degree offset. A 15-inch true offset and 20-inch advance require a different angle or routing arrangement.
Check the Result Independently
The example can also be checked using all three perpendicular movements:
Travel² = set² + roll² + advance²
For the 45-degree example:
Travel = √(12² + 9² + 15²) = √450 ≈ 21.213 inches
This independent check should agree with the angle-based calculation. A disagreement points to an incorrect dimension, calculator setting, or interpretation of the layout.
Keep sufficient precision through the calculations. Convert to the required field measurement increment only after determining the final fabrication dimensions and applicable tolerances.
Part 3: Establish the Roll and Determine Cut Length
The Roll Angle Establishes Orientation
Travel tells you the distance between elbow centers. The roll angle tells you how the offset plane is rotated around the original pipe axis.
For the example, measure the angle from the horizontal sideways direction toward the vertical direction:
Roll angle from horizontal = tan⁻¹(set ÷ roll)
Roll angle from horizontal = tan⁻¹(12 ÷ 9) ≈ 53.13°
Measured from vertical instead, the angle is approximately 36.87°. Both describe the same offset plane, but they use different starting references.
Write down the viewing direction, the reference axis, and whether the destination is up or down and left or right. “Roll it 53 degrees” is incomplete without that information.
Roll Angle Is Not the Connecting Pipe’s Inclination
A useful distinction appears when someone puts an inclinometer on the diagonal connecting pipe. Its inclination above horizontal is not generally the same as the offset plane’s roll angle.
In this example, the connecting pipe rises 12 inches over a travel of approximately 21.213 inches:
Pipe inclination = sin⁻¹(12 ÷ 21.213) ≈ 34.45°
That reading differs from the 53.13-degree roll angle because the two angles describe different relationships. The roll angle describes rotation around the original run; the inclination describes the connecting pipe’s slope relative to horizontal.
Center-to-Center Travel Is Not Pipe Cut Length
The calculated 21.213-inch travel includes portions occupied by both elbows. The straight pipe between their weld ends must be shorter.
For a butt-welded arrangement, when each takeout is measured from the theoretical elbow centerline intersection to its weld-end face along the connecting axis:
Pipe cut length = travel − first takeout − second takeout − both root openings
Use verified dimensions for the actual fittings. Takeout depends on fitting angle, size, radius, and construction. Do not substitute a remembered dimension from a different elbow.
As an arithmetic example only, suppose each verified takeout is 2.500 inches and the specified root opening is 0.125 inch at each joint:
Cut length = 21.213 − 2.500 − 2.500 − 0.125 − 0.125
Cut length = 15.963 inches
These assumed takeouts and root openings illustrate the calculation; they are not specifications for a particular fitting or welding procedure. If a shop’s established deduction already includes the root opening, do not subtract it twice. Socket-welded and threaded connections require their own engagement and assembly allowances.
Part 4: Check the Layout Before Fabrication
Establish Reliable Centerline Measurements
Begin with the drawing revision, line identification, pipe specification, fitting details, and connection locations. Confirm that the two runs are intended to be parallel and that the dimensions refer to the same centerline datum.
Measurements taken between pipe surfaces require conversion to centerline dimensions. Equal-size pipes measured from corresponding surfaces may preserve the centerline difference, but different diameters, insulation, and uneven surfaces can invalidate that shortcut.
Record the vertical displacement, sideways displacement, and available advance independently. Do not assume that a spool with the correct diagonal travel will automatically land at the required endpoint.
Preserve Orientation During Fit-Up
Mark the established top and side references before rotating or moving components. During fit-up, check both displacements and confirm that the outgoing pipe axis returns to the required direction.
A correct travel dimension with incorrect elbow rotation can place the endpoint on the wrong side or at the wrong elevation. The assembly needs the correct length, orientation, and end alignment together.
If the intended route includes slope or nonparallel connections, the simple parallel-run model needs further development. Use the actual drawing geometry rather than forcing a standard rolling-offset calculation to fit a different arrangement.
Troubleshoot the Measurement That Failed
When both transverse movements appear proportionally too small, recheck the true-offset calculation and elbow angle. When the diagonal center-to-center distance is correct but the assembly misses vertically or sideways, inspect the roll orientation and reference marks.
If the assembly reaches the correct elevation and sideways position but misses along the original run, check advance and the starting datum. If the centerline geometry is correct but the straight piece does not fit between weld ends, revisit takeouts, root openings, and cut-length allowances.
An outgoing pipe that is no longer parallel to the incoming run suggests a problem with fitting angles, elbow orientation, or fit-up alignment. Pulling the assembly into place does not correct the underlying layout error.
Check the Pipe’s Full Envelope
Centerline geometry does not establish clearance by itself. The finished route must also accommodate pipe outside diameter, insulation, nearby steel, supports, adjacent lines, and access needed for welding and inspection.
A centerline can clear an obstruction while the outside of an elbow or insulated pipe still interferes. Review the actual component envelope before accepting the layout.
Practice the Complete Sequence
Consider a second offset with a vertical set of 8 inches, a sideways roll of 6 inches, and two 45-degree elbows.
The true offset is 10 inches. The center-to-center travel is approximately 14.142 inches, and the advance is 10 inches. The offset plane is approximately 53.13 degrees from horizontal, using the same viewing convention as the first example.
The roll angle matches the earlier example because the ratio between vertical and sideways movement is unchanged. The dimensions are smaller, but the orientation is the same. A pipe cut length still requires the actual fitting takeouts and assembly allowances.
A dependable rolling-offset layout connects every calculation to a physical reference: where the pipe starts, where it must finish, how the elbows turn, and where the weld ends sit. Establish those references first, and the numbers become a practical way to verify the fit.
Leave a Reply